Welcome to OctaneRender® for Unity! Please read these installation instructions to get started.


Step 1: Install Unity 2017.1 or later

To use Octane for Unity, you need to download and install Unity.
Go to https://unity3d.com/get-unity/download/archive
Select and download a version of Unity that is 2017.1 or later.


Step 2: Confirm Hardware Requirements and Drivers

OctaneRender™ is a CUDA 8 application. It will require a current NVIDIA graphics driver of version 347.x or higher. OctaneRender requires a NVIDIA graphics card with support for compute capability 2.0.
Recommended System Requirements include:
  • GPU: NVIDIA Kepler/Maxwell/Pascal GPU and 4 GB+ VRAM
  • CPU: Intel i5
  • GTX 970 or higher recommended
  • Operating System: Windows 7, 8, 10
  • The latest NVIDIA video card drivers for Windows can be downloaded here.


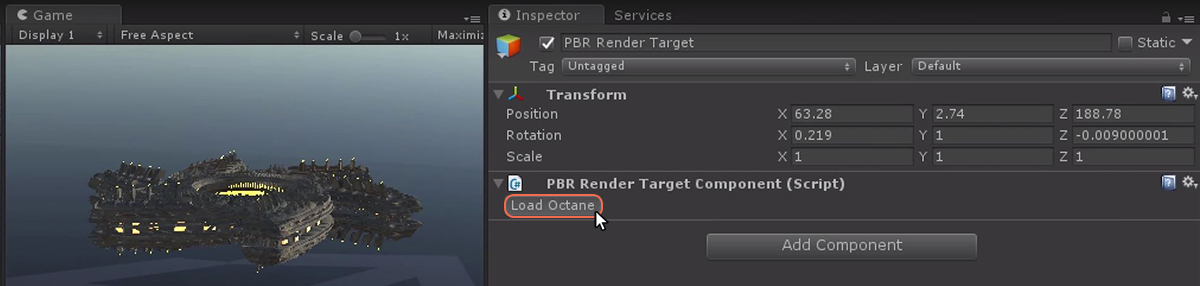
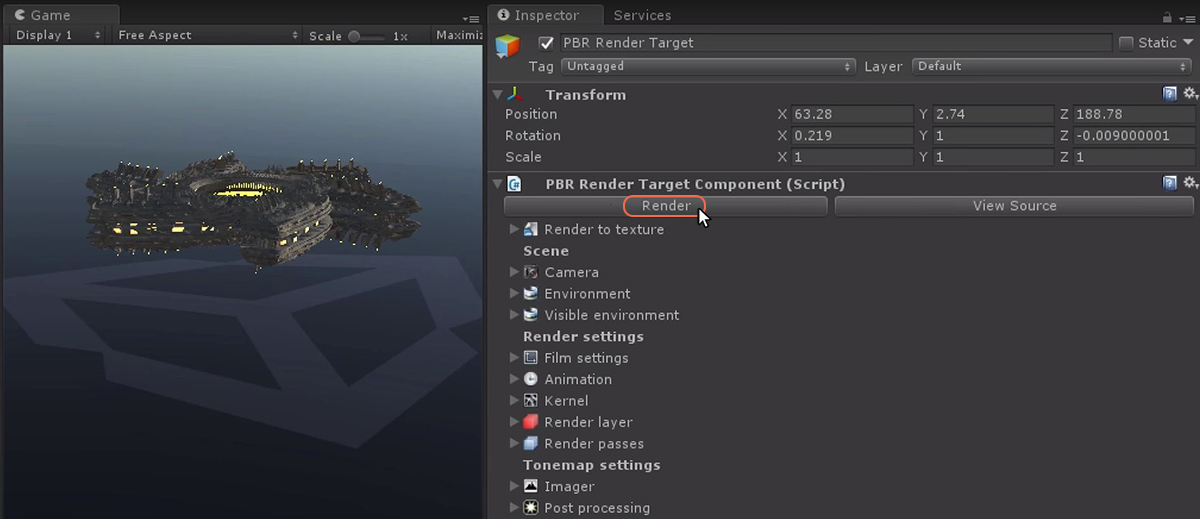
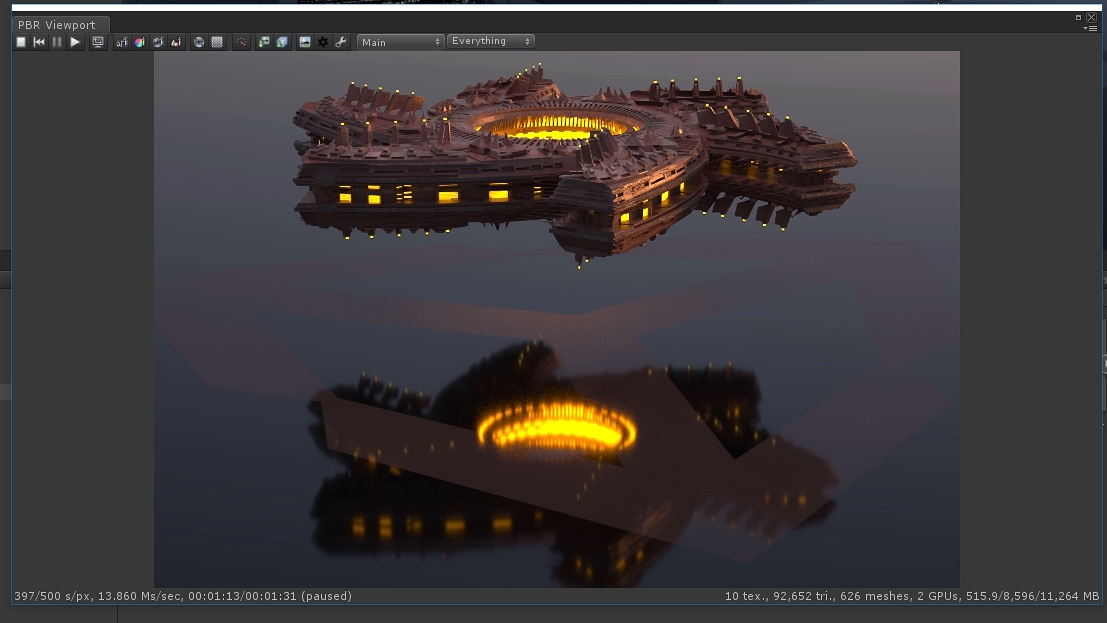
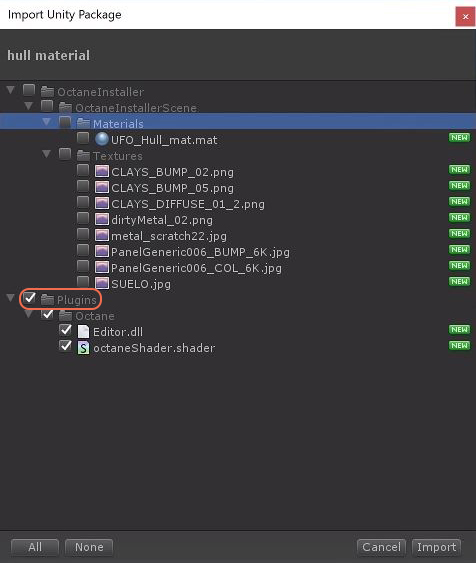
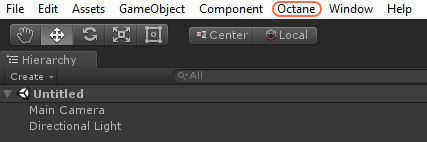
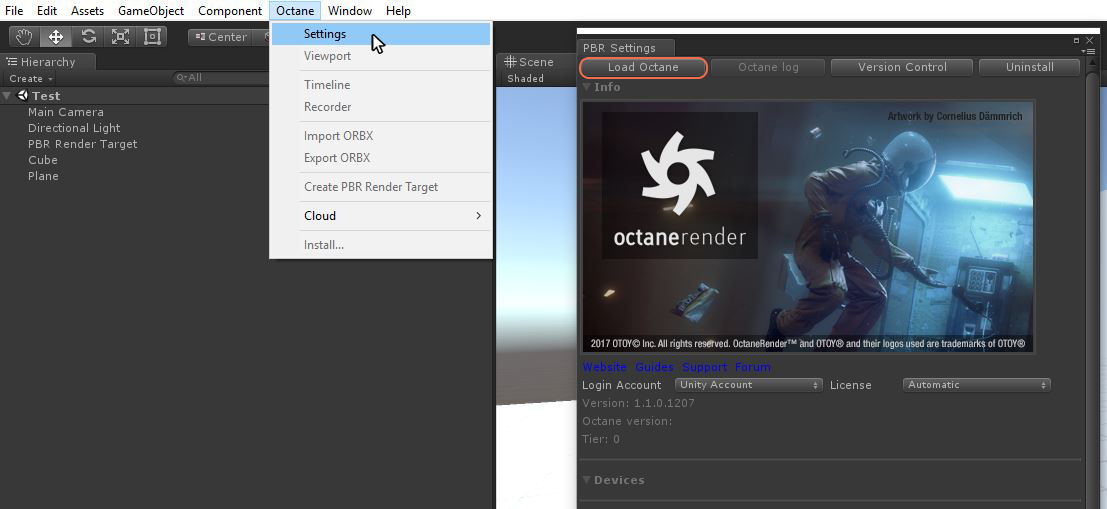
Step 3: Installing the OctaneRender for Unity Integration

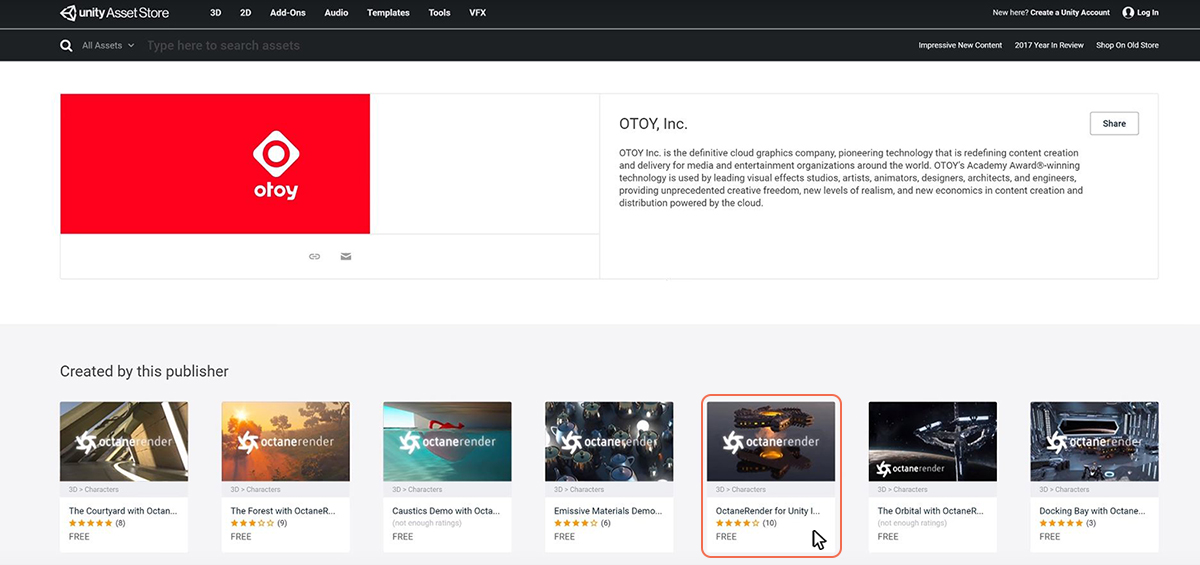
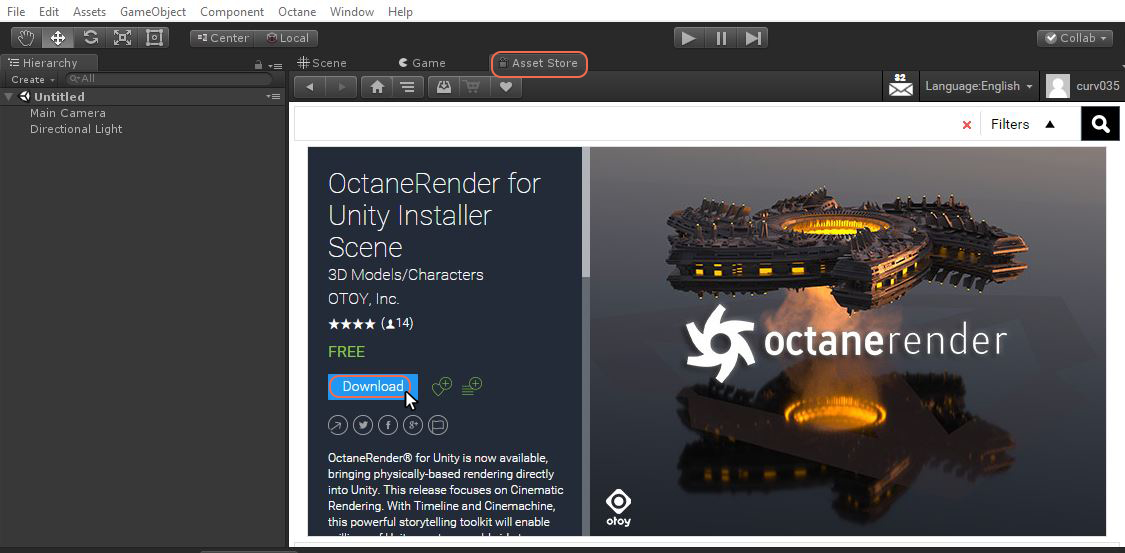
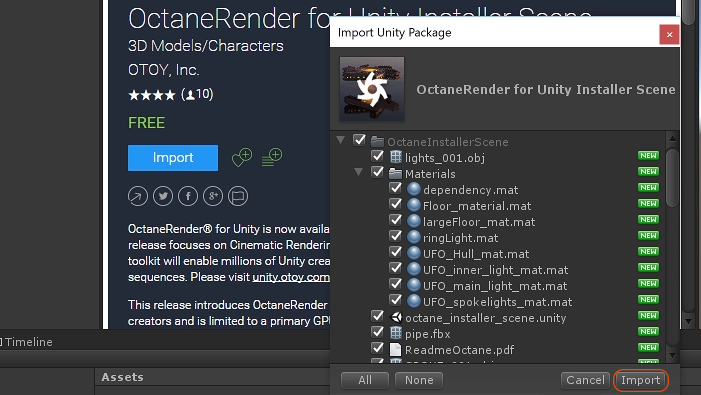
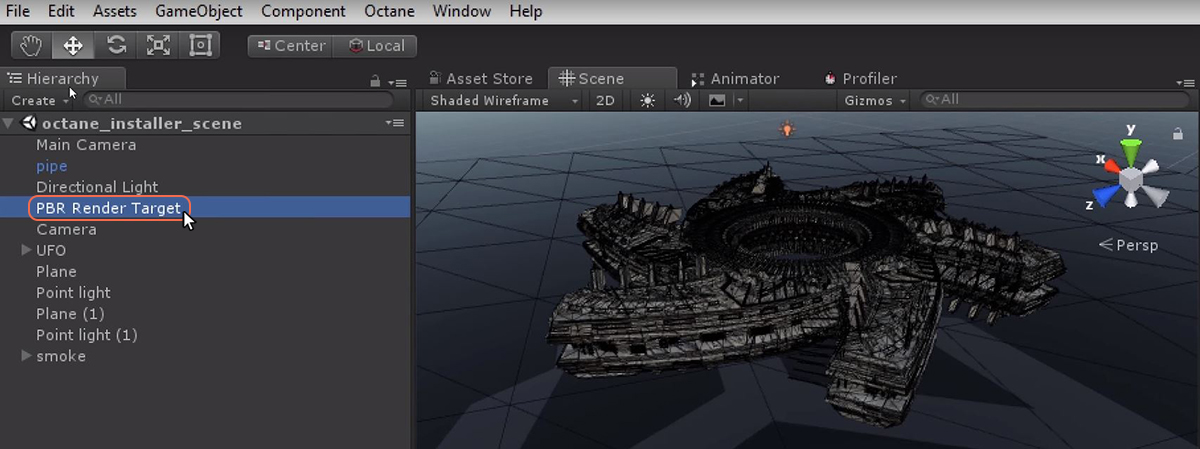
You can install the OctaneRender for Unity integration by downloading one of the scenes OTOY provides in the Unity Asset Store. The Installer Scene is built to be lightweight and friendly so is recommended for getting started (figure 1).
  • For OctaneRender Prime, all you need to do is download and the Installer Scene and open it in the Unity editor.
  • To upgrade to OctaneRender Studio or OctaneRender Creator, please visit OTOY’s Unity Page. The Installation steps will be the same. However, once you open Octane into Unity’s editor, you will be directed via an email to complete your user account and select plugins, or access to OctaneRender Cloud.

Figure 1: Selecting the Installer Scene from the Unity Asset Store.

The Installer Scene can also be added to a project by downloading it from the Asset Store directly in Unity (figure 2).

Figure 2: Adding the Octane Installer scene directly in Unity.

After the download is complete, the Import Unity Package window will open. Click the Import button to import all the contents from the Installer Scene into the current Unity project (figure 3).

Figure 3: Importing the contents of the Octane Installer Scene into Unity.

Once the Installer Scene is imported, the PBR Render Target can be selected in the Hierarchy window (figure 4).

Figure 4: Selecting the PBR Render Target in the Hierarchy window.

The PBR Render Target contains a Load Octane button that can be accessed in the Inspector window (figure 5).

Figure 5: Activating the Octane plugin in the PBR Render Target’s Inspector window.

After activating the Octane render engine by pressing the Load Octane button, the PBR Render Target’s Inspector window will provide many rollouts for controlling the render process. To start the rendering process, click on the Render button (figure 6).

Figure 6: Clicking the Render button to start the rendering process.

Clicking the Render button will open the PBR Viewport window where the rendering process will continuously update until the specified sampling level is reached (figure 7).

Figure 7: The Octane Installer Scene rendering in the PBR Viewport.

The Installer Scene contains the Octane for Unity plugin which can be imported into any Unity scene as a custom package without the additional assets contained in the Installer Scene. This can be accomplished through the following steps:
Create a new Unity scene, then from the Assets menu, choose Import PackageCustom Package (figure 8).

Figure 8: Importing the Octane custom package.

Navigate to where you have the Octane Installer scene saved and choose the hull material.unitypackage (figure 9).

Figure 9: Importing the hull material custom package.

In the Import Unity Package window, deselect everything except the Plugins (figure 10). Then click Import.

Figure 10: Deselecting all the assets except the Plugins in the Import Unity Package window.

Once the Plugins from the Octane custom package has been imported, the Octane Menu will be available in the Unity menu bar (figure 11).

Figure 11: The Octane menu in Unity.

The final step for activating the Octane for Unity plugin is to open the PBR Settings window and click the Load Octane button (figure 12).

Figure 12: Opening the PBR Settings window from the Octane menu.

Leave a Reply